通过一个简单的php实现随机图片外链自动使用 jsDelivr 进行 CDN 加速,免费、稳定、高效。
在线体验
随机图片api:https://api.qikaile.tk
步骤
选择图片并上传图片

将文件中图片上传到github仓库中
压缩图片
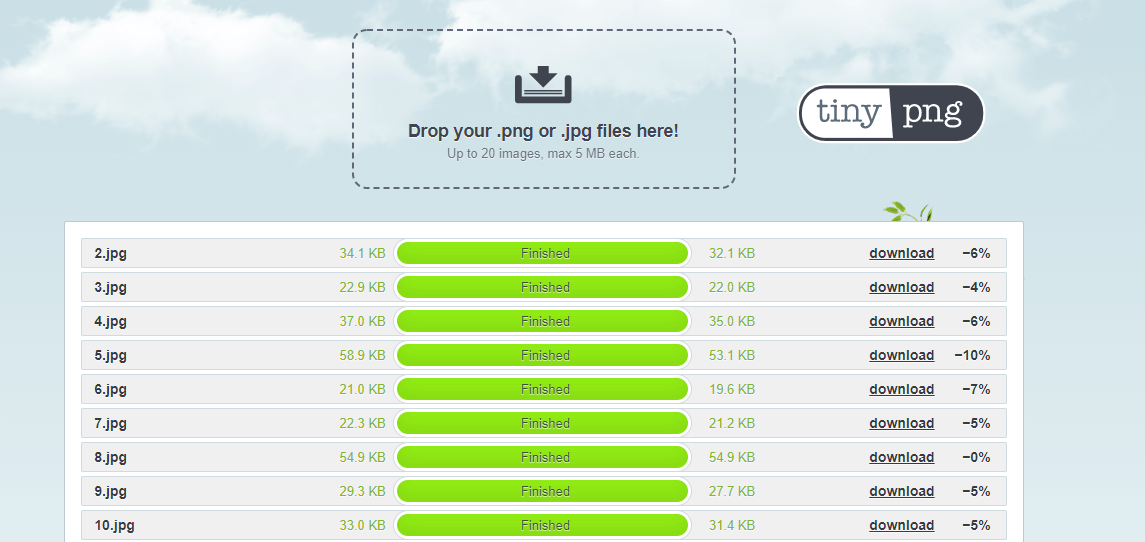
选择好随机图片,为了加快访问可以将图片上传到TinyPNG实现压缩图片。
运行Python程序
程序代码如下:
import os
import cv2

file_path = "C:/Users/22957/Desktop/thumb/"
web_path = "https://cdn.jsdelivr.net/gh/qikaile/cdn/thumb/"

def img_resize(image_path):
    image = cv2.imread(file_path+image_path)
    height, width = image.shape[0], image.shape[1]
    # 设置新的图片分辨率框架
    width_new = 1920
    height_new = 1080
    # 判断图片的长宽比率
    if width / height >= width_new / height_new:
       img = cv2.resize(image, (width_new, int(height * width_new / width)))
    else:
       img = cv2.resize(image, (int(width * height_new / height), height_new))
    if ".jpg" in image_path:
        cv2.imwrite(file_path+image_path, img, [int(cv2.IMWRITE_JPEG_QUALITY), 100])
    elif ".png" in image_path:
        cv2.imwrite(file_path+image_path, img, [cv2.IMWRITE_PNG_COMPRESSION, 0])

if __name__ == '__main__':
    filelist = os.listdir(file_path)
    with open('C:/Users/22957/Desktop/img.txt','w') as f:
        for file in filelist:
            img_resize(file)
f.write(web_path+file+'\n')其中需要修改的有3个地方,file_path(填你选择图片的地址)、web_path(https://cdn.jsdelivr.net/gh/github用户名/仓库名/文件名)、with open(填img.txt保存的地址)
为了尽量让图片保持1920*1080的比例,用到opencv调整分辨率,若没有安装库,可能第一次出现报错
ModuleNotFoundError: No module named 'cv2',解决办法:python安装第三方库
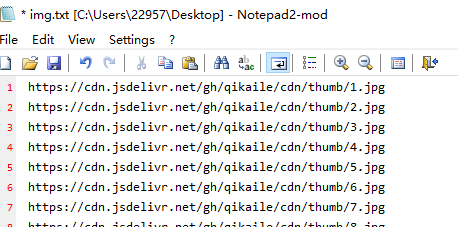
pip install opencv-python一切完成后,运行程序,会把我们需要的链接保存到img.txt文件中。
写一个读取链接并重定向的index.php:
代码如下:
<?php
//存有美图链接的文件名img.txt
$filename = "img.txt";
if(!file_exists($filename)){
    die('文件不存在');
}

//从文本获取链接
$pics = [];
$fs = fopen($filename, "r");
while(!feof($fs)){
    $line=trim(fgets($fs));
    if($line!=''){
        array_push($pics, $line);
    }
}

//从数组随机获取链接
$pic = $pics[array_rand($pics)];

//返回指定格式
$type=$_GET['type'];
switch($type){

//JSON返回
case 'json':
    header('Content-type:text/json');
    die(json_encode(['pic'=>$pic]));

default:
    die(header("Location: $pic"));
}
?>
上传文件
将img.txt和index.php(你也可以设置为random.php,访问域名时访问域名+random.php)放到一个网站的目录下


评论 (0)